
Straight-Line Braking
Before we get into the explanation, let’s first talk briefly about primary controls.
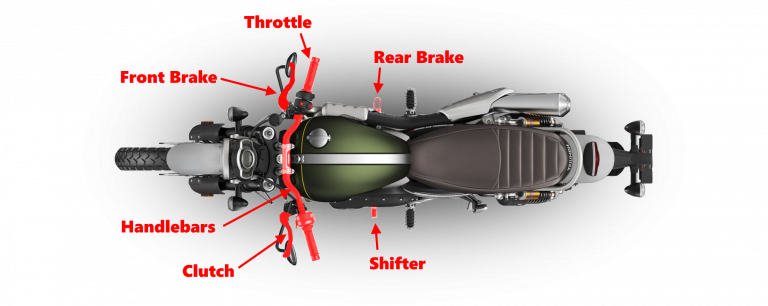
At AMS, we consider our front brake, rear brake, throttle, clutch, shifter, and the handlebars (often overlooked because they’re so obvious) to be the six primary controls. These must become so familiar to you as you progress as a motorcyclist that you never have to look for them. Imagine driving your car and needing to look down to find the brake pedal before using it—it wouldn’t go well!
We describe Straight-Line Braking as any situation where you need to bring your motorcycle to a full stop as quickly and safely as possible in a straight line. Keep in mind, we start working on and perfecting this “Straight-Line Braking” skill first thing Sunday morning—after you’ve had a full day of riding and built up plenty of that important muscle memory before your first attempts at this exercise.
The 3 Step Process
Straight-line braking involves all six primary controls. Of course, there are many times when simply rolling off the throttle and applying both brakes—perhaps with a downshift or two—is all that’s required on a casual ride with your buddies. However, the muscle memory we want you to develop in this course is the emergency response: stopping as quickly and as safely as possible.
We break down our straight-line stopping process into three simple steps:
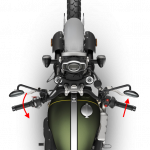
(1) Roll off the throttle while pulling in the clutch
Your clutch and throttle always work together. When taking off, we release the clutch as we roll on the throttle. For straight-line braking, it’s the opposite: clutch in, throttle off.
With the clutch in and the throttle off, we’re essentially coasting and ready for steps two and three.
This “two-handed” motion—demonstrated statically—kind of resembles the wringing of a wet towel (if you squint your eyes and use your imagination).
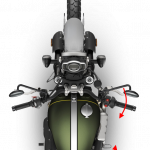
(2) Use both brakes to bring the motorcycle to a stop
We reach for and apply the front brake while simultaneously pressing the rear brake with our right foot. Keep in mind that about 70% of total braking power comes from the front brake and 30% from the rear.
We build up to this ratio gradually—starting at 50/50 and progressing to a comfortable 70/30 as the exercise continues. Like all motorcycle controls, braking must be smooth and progressive, never abrupt.
We often see unwanted throttle input as students pull in the front brake lever. This usually means the steps are being done too quickly.
Brake pressure should be applied progressively—30% → 60% → 90%—to both brakes. We should never go from 0% to 100%, especially on the front brake. Progressive weight transfer to the front wheel increases traction before this powerful brake can be used effectively.
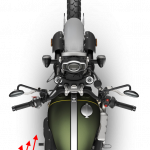
(3) Shift to first gear before coming to a complete stop
Just before stopping, ensure you’re in first gear for safety. When shifting down from second to first gear, it only takes a single tap down with your left foot—but two or three solid taps will ensure the bike isn’t accidentally in neutral, keeping you ready to respond to anything coming up behind you.
As the bike stops, your left foot goes down to stabilize it.
Then, shoulder check. We may even simulate a situation where you need to move off quickly.
Emergency Stops
This is our straight-line stopping process. The only difference in what we’d call an Emergency Stop is the speed at which these three steps are performed. We’ll build on this during the upcoming “Braking in a Curve” exercise.
This is such an important skill!
Your instructors’ goal isn’t just to help you earn your certificate—it’s to ensure you have this and other essential skills when you turn the key on your shiny new motorcycle. To emphasize this point, our instructors spend a significant amount of personal time practicing their own straight-line braking. You may have seen us riding around empty parking lots, turning, stopping, and repeating. Like all sports, motorcycling requires consistent practice.